


-1000x1000.jpg)


-1000x1000.jpg)


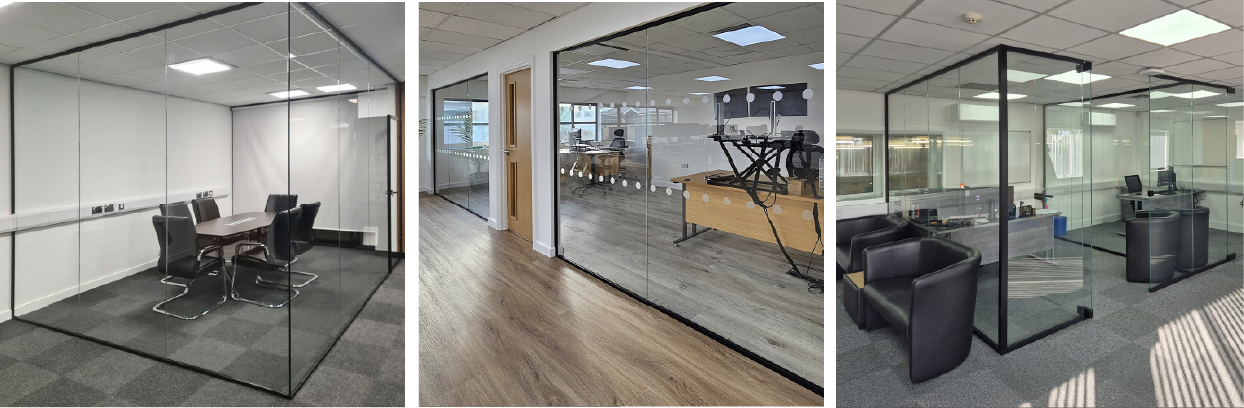
Streamlining Workspace Transformations: Why Dynamik is the Installer’s Choice
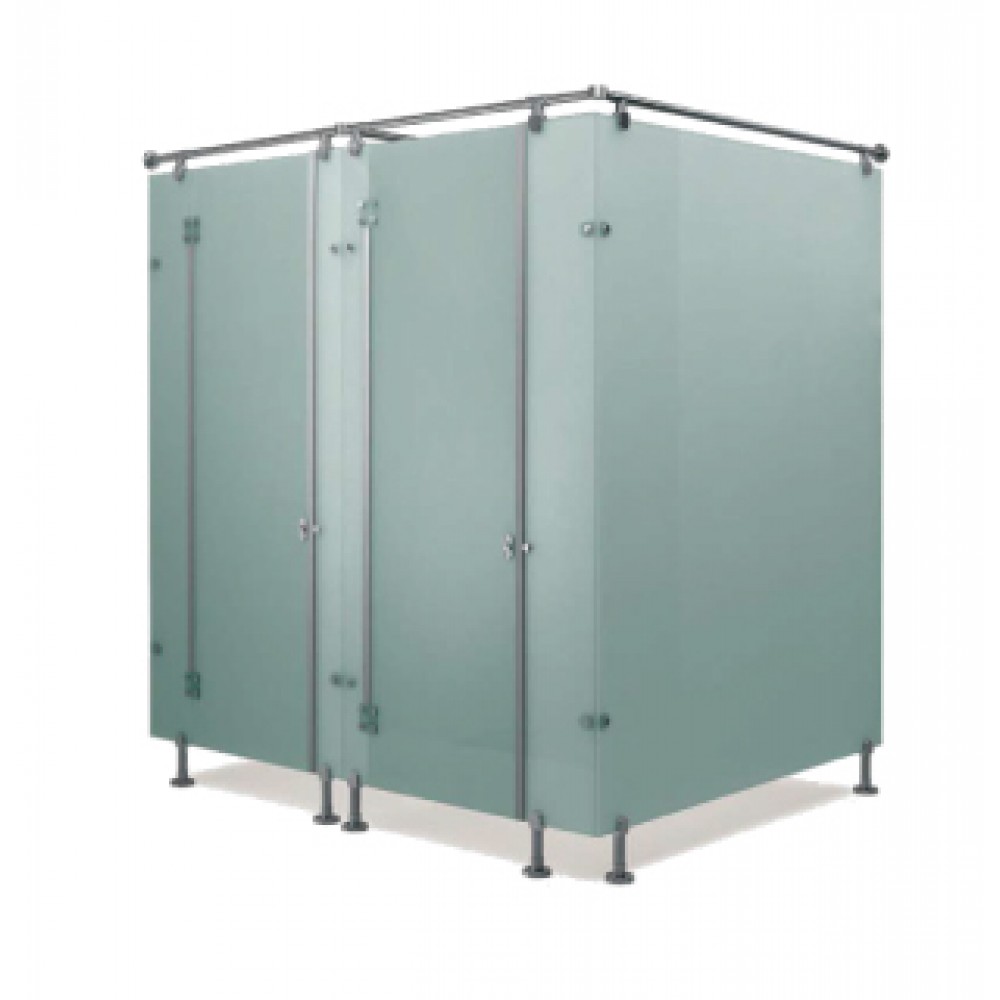
In the fast-paced world of commercial renovation, time is money. While the demand for open, airy, and light-filled office spaces continues to grow, installers often face the challenge of complex fitting systems that eat into valuable time on site.
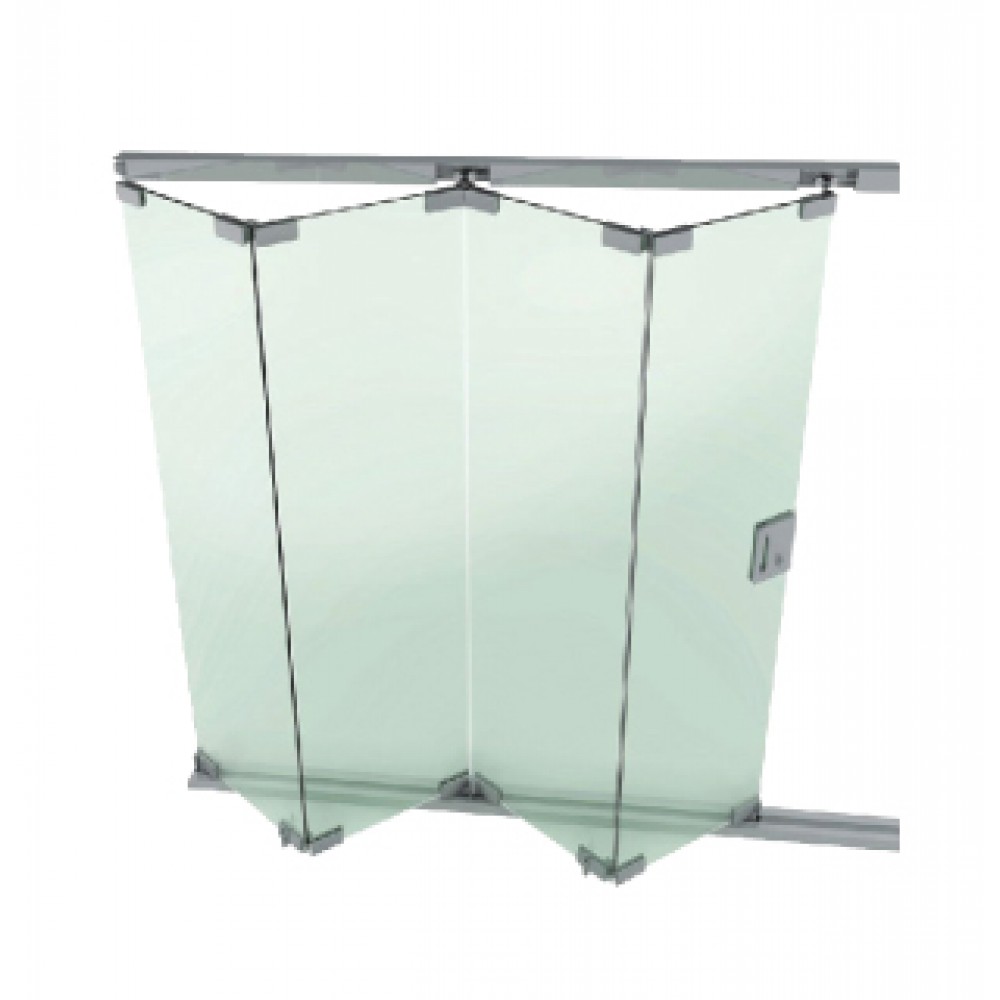
Enter the Dynamik Partitioning System—a solution engineered specifically to meet the demands of the glazier by combining modern aesthetics with an incredibly simple installation process.

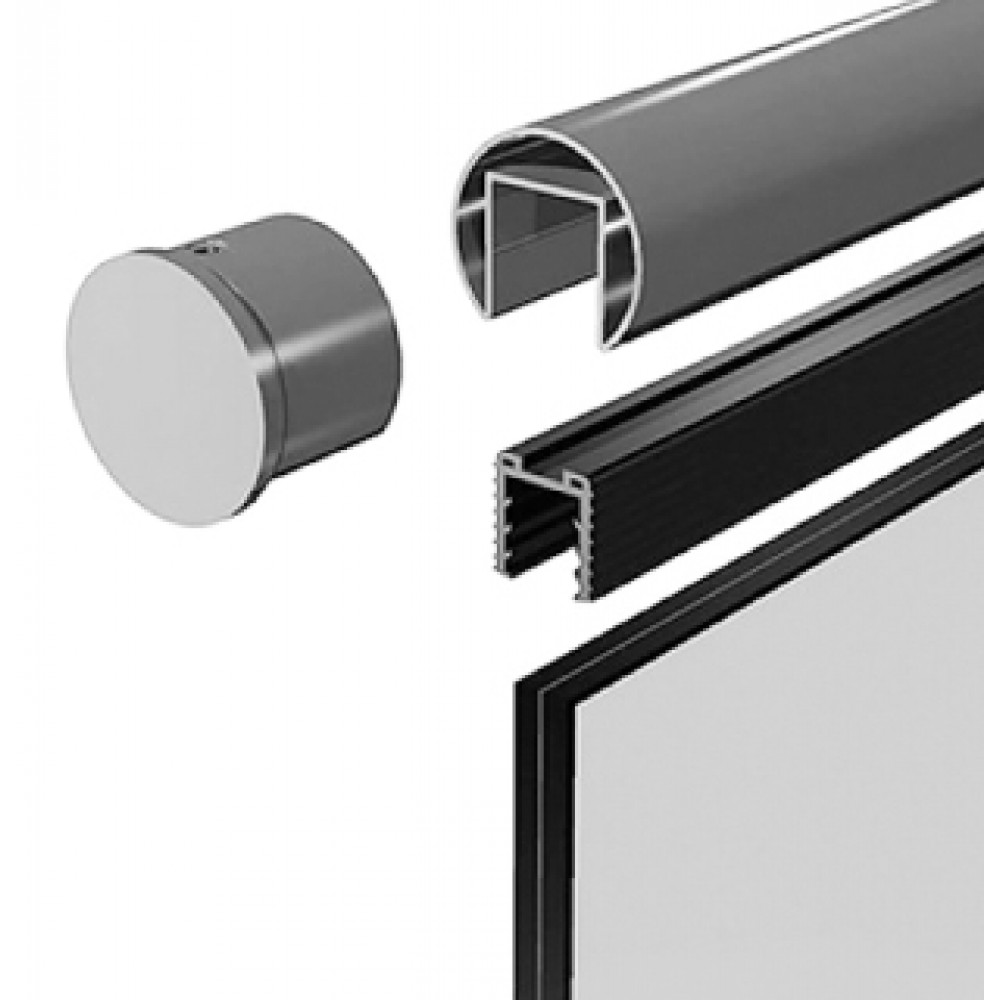
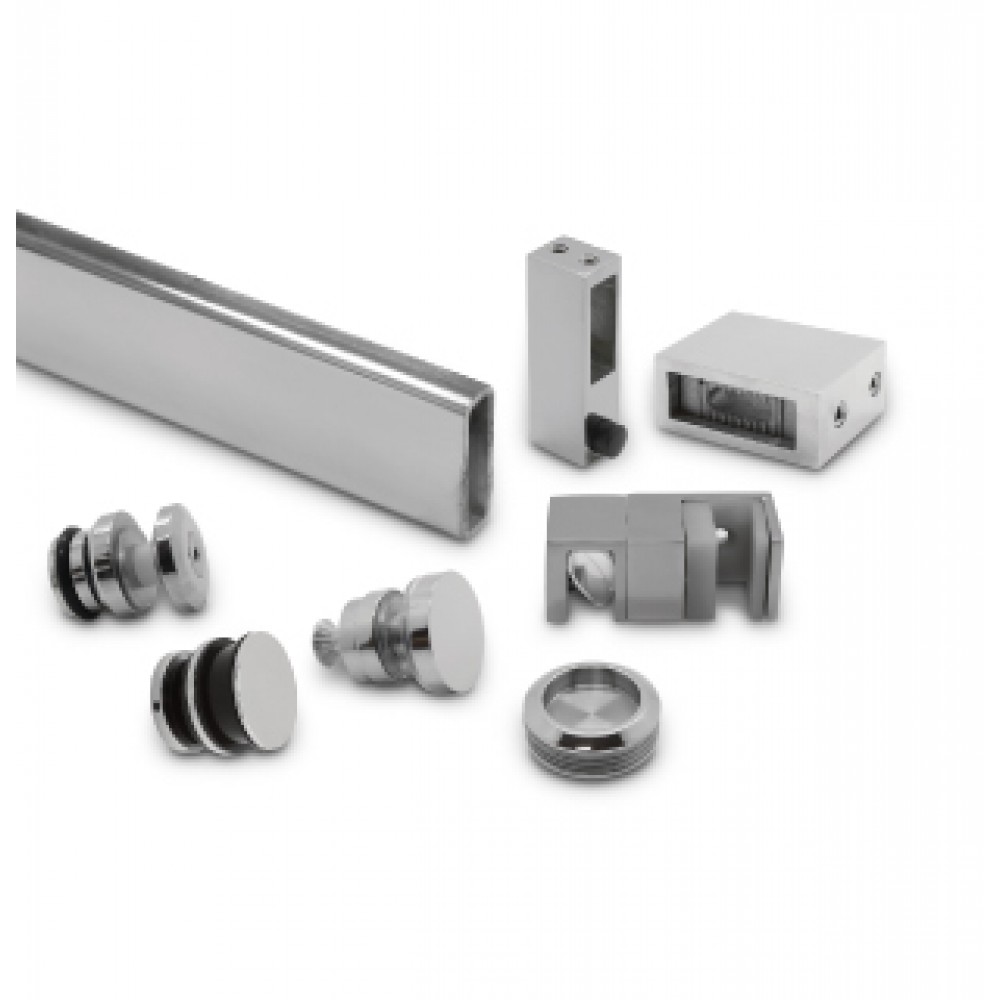
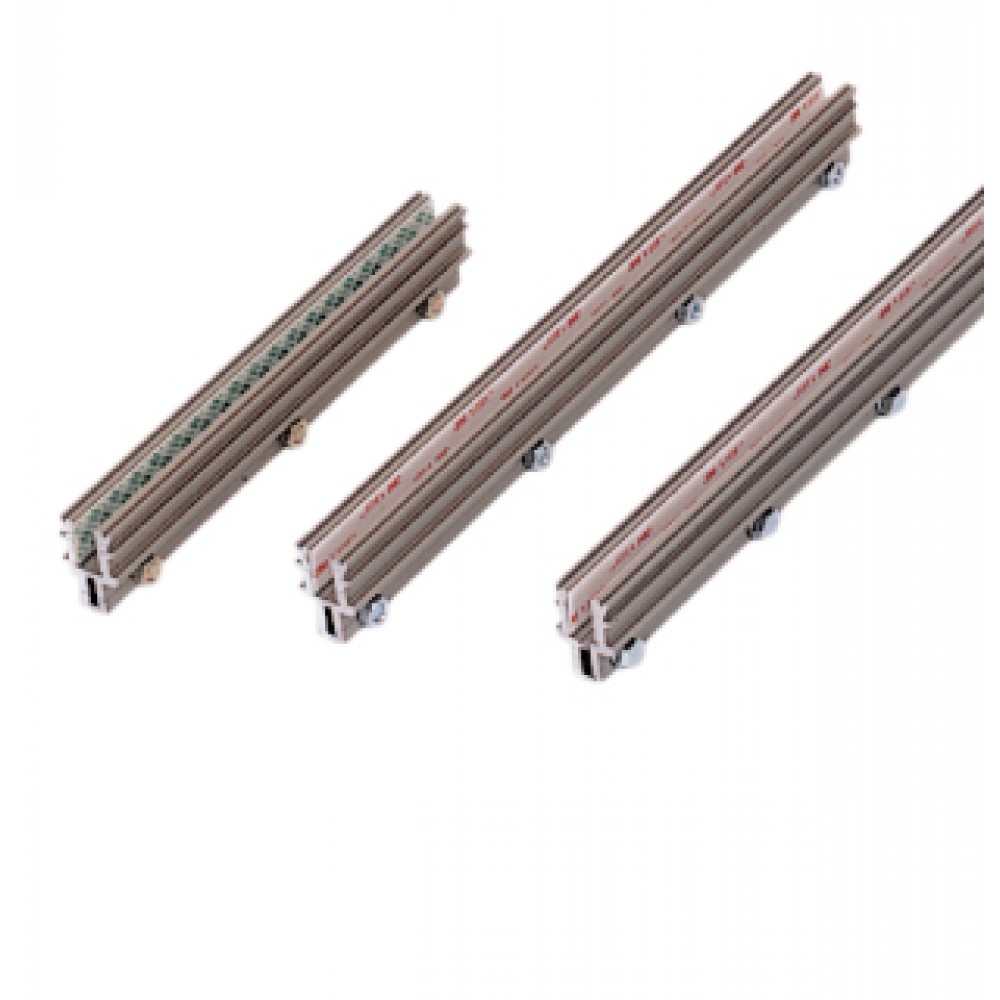
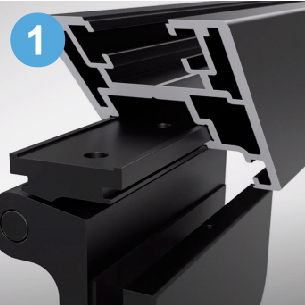
What sets the Dynamik system apart is its intuitive design. Whether you are using the single-glazed or double-glazed profiles, the system is designed as a two-part assembly that allows for rapid fitting.
The installation process can be broken down into five simple steps:
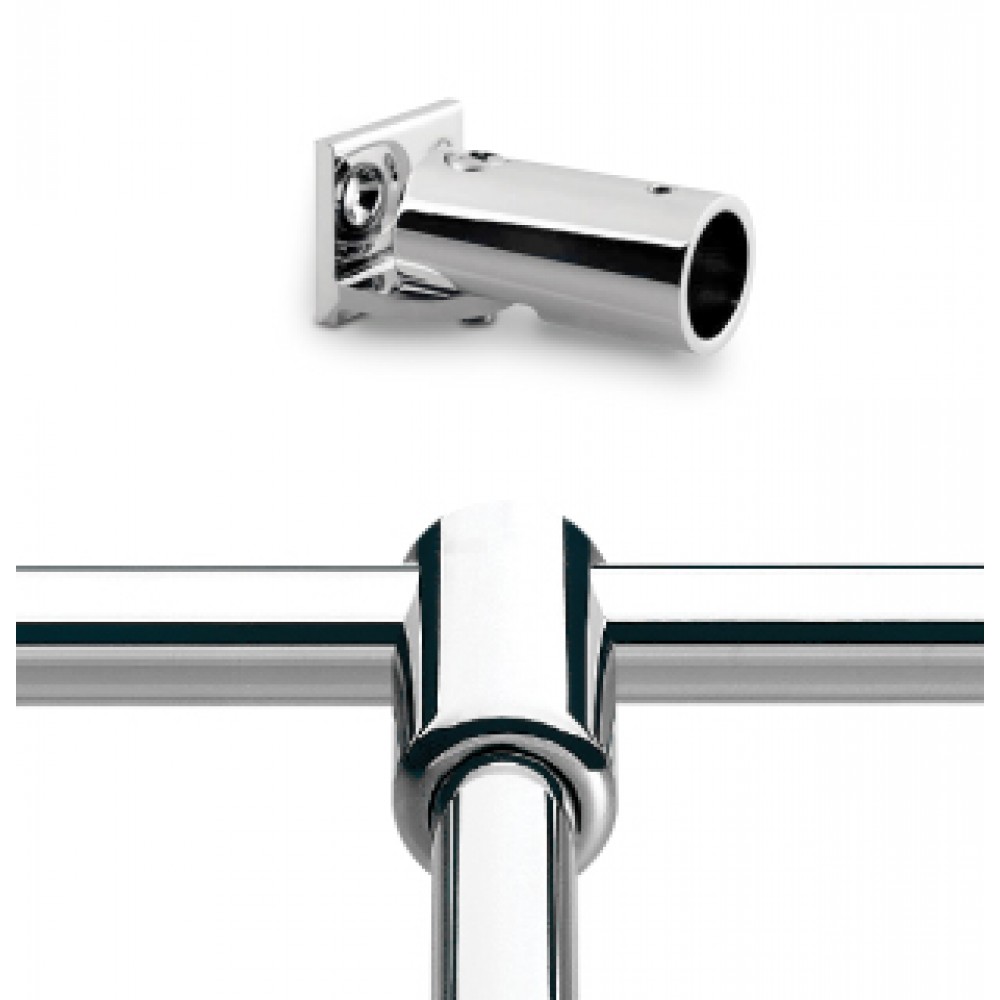
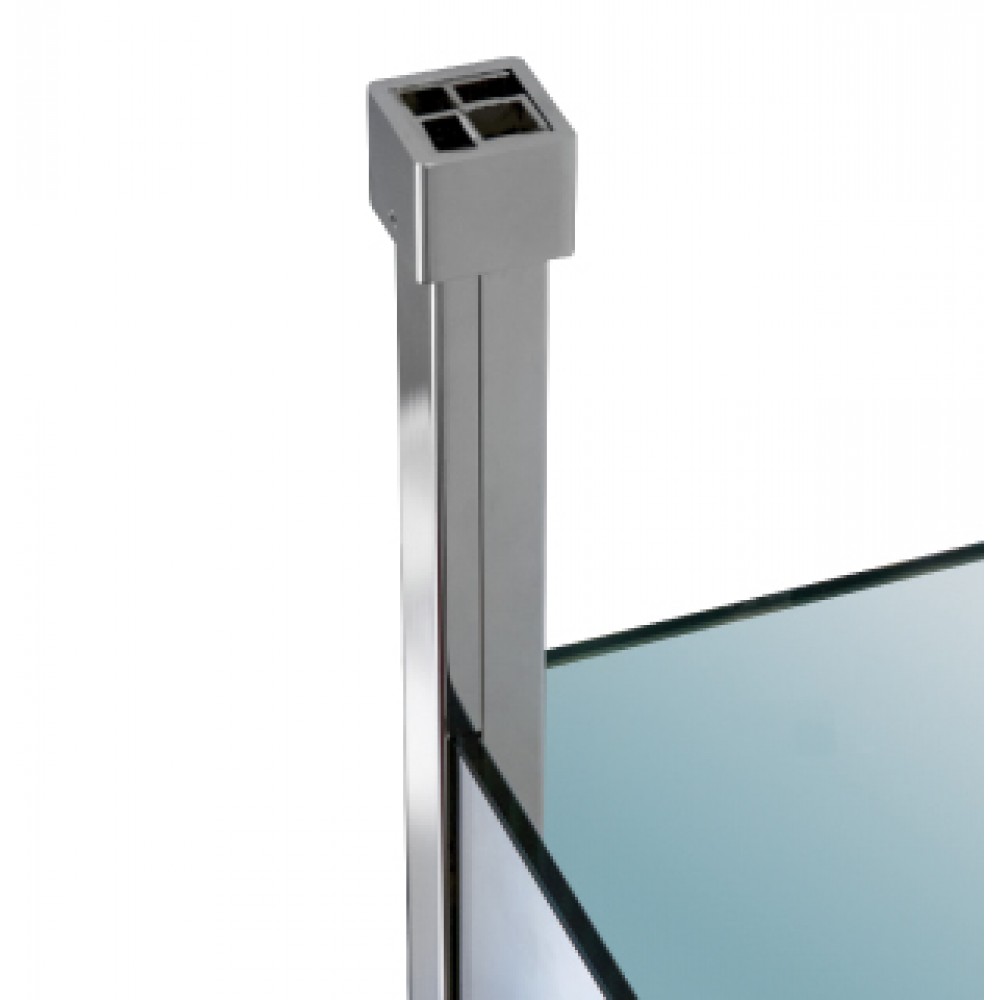
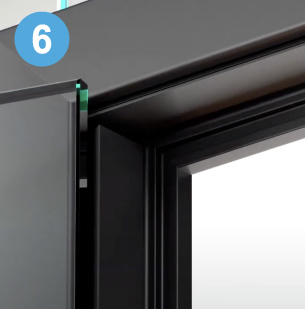
- Fix the Framework: Secure the first component to the bottom & side profile, and also top profile.
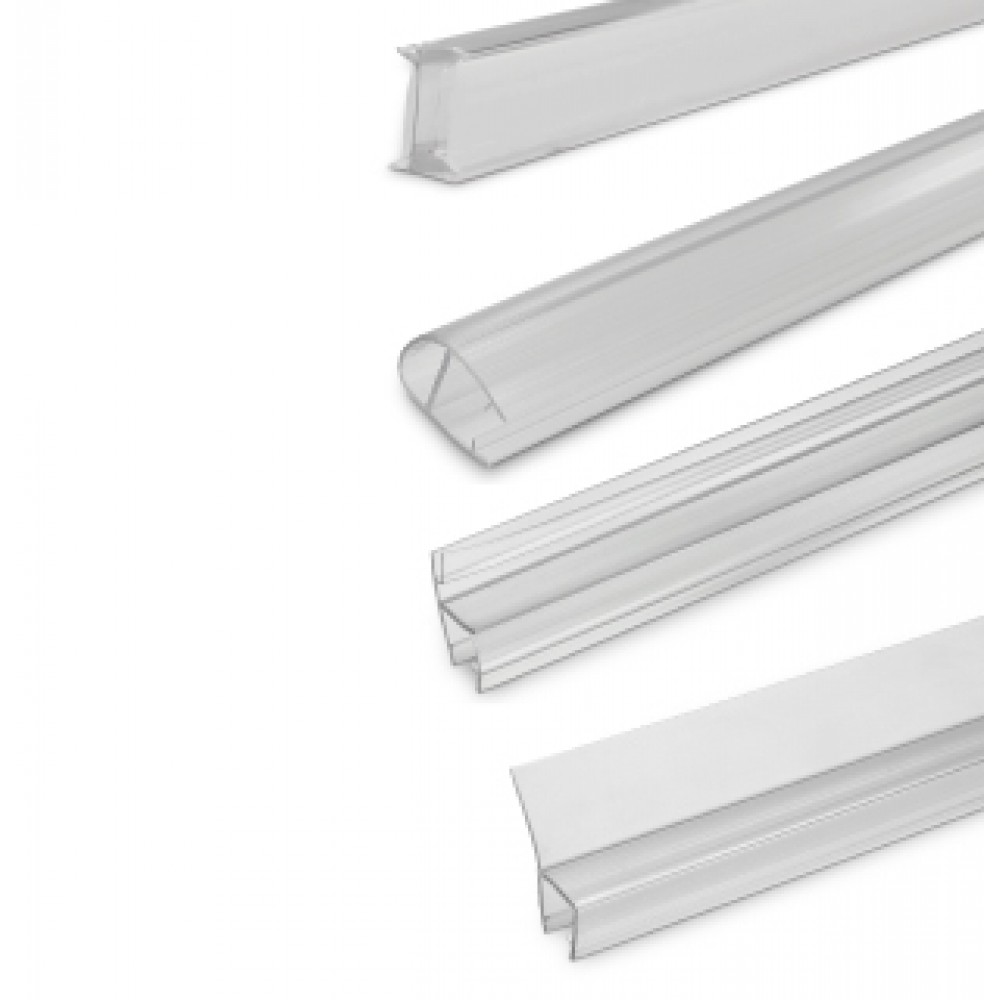
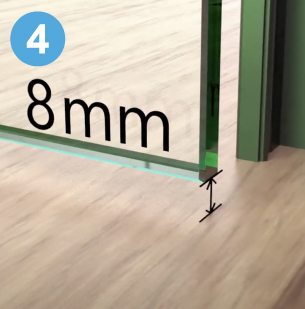
- Prep the Perimeter: Install the fixed gasket into the perimeter and position the packers into the bottom profile simultaneously.
- Glaze: Install the glass, which is securely held in place by the top profile.
- Snap and Cover: Clip on the bottom and side cover profiles to hide the fixings.
- Secure: Install the final wedge gasket to lock everything in place.
It really is as simple as that! This straightforward method eliminates the frustration of rough sketches and unclear processes, replacing them with a streamlined workflow.
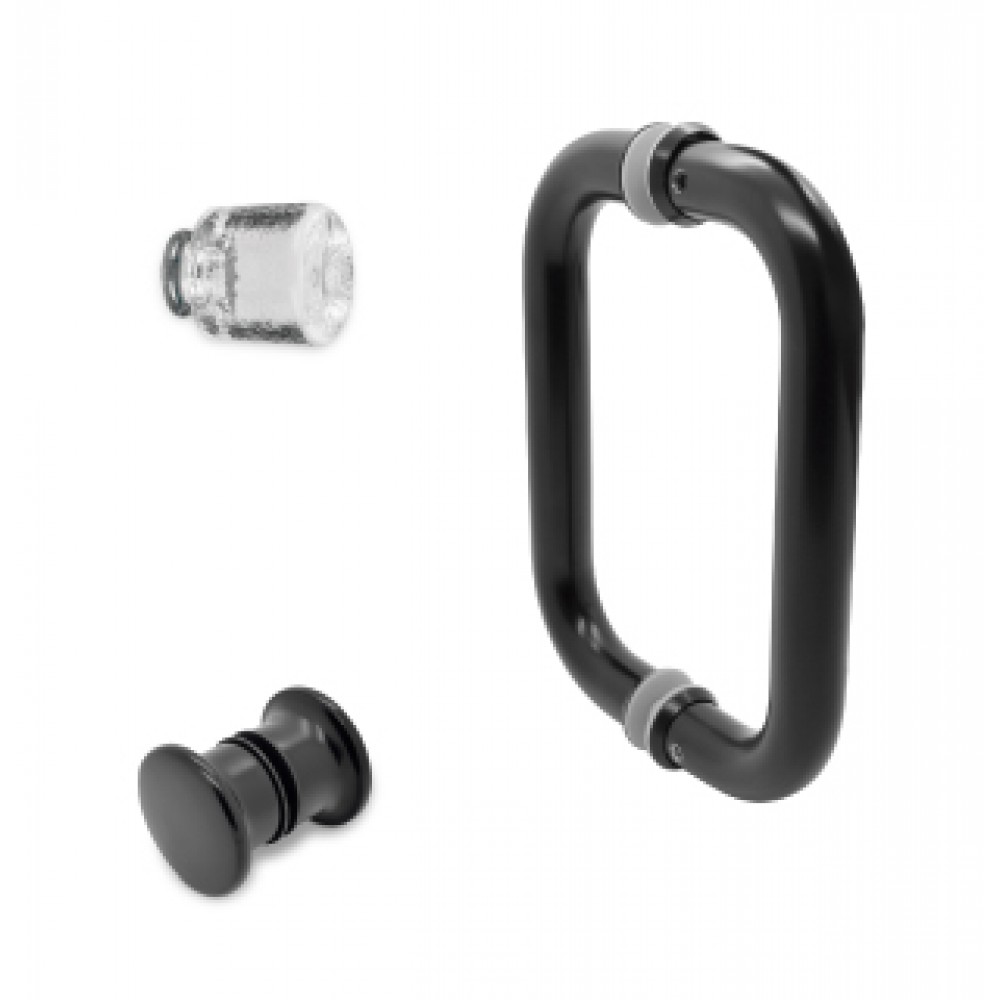
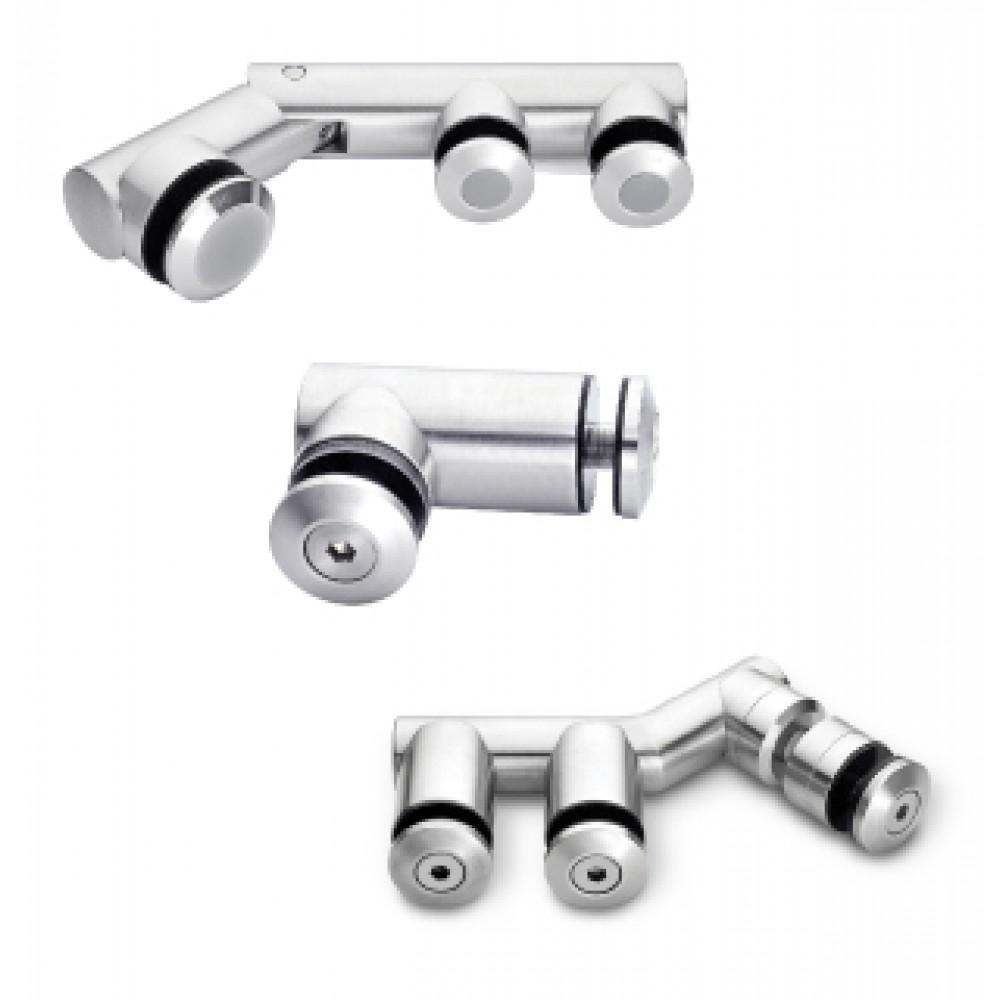
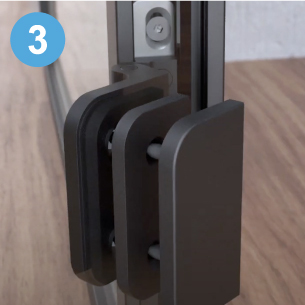
The ease of installation extends beyond the fixed screens to the door systems. Traditional glass door installations often require complex milling of the door frames, risking costly mistakes.
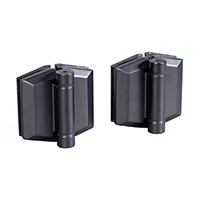
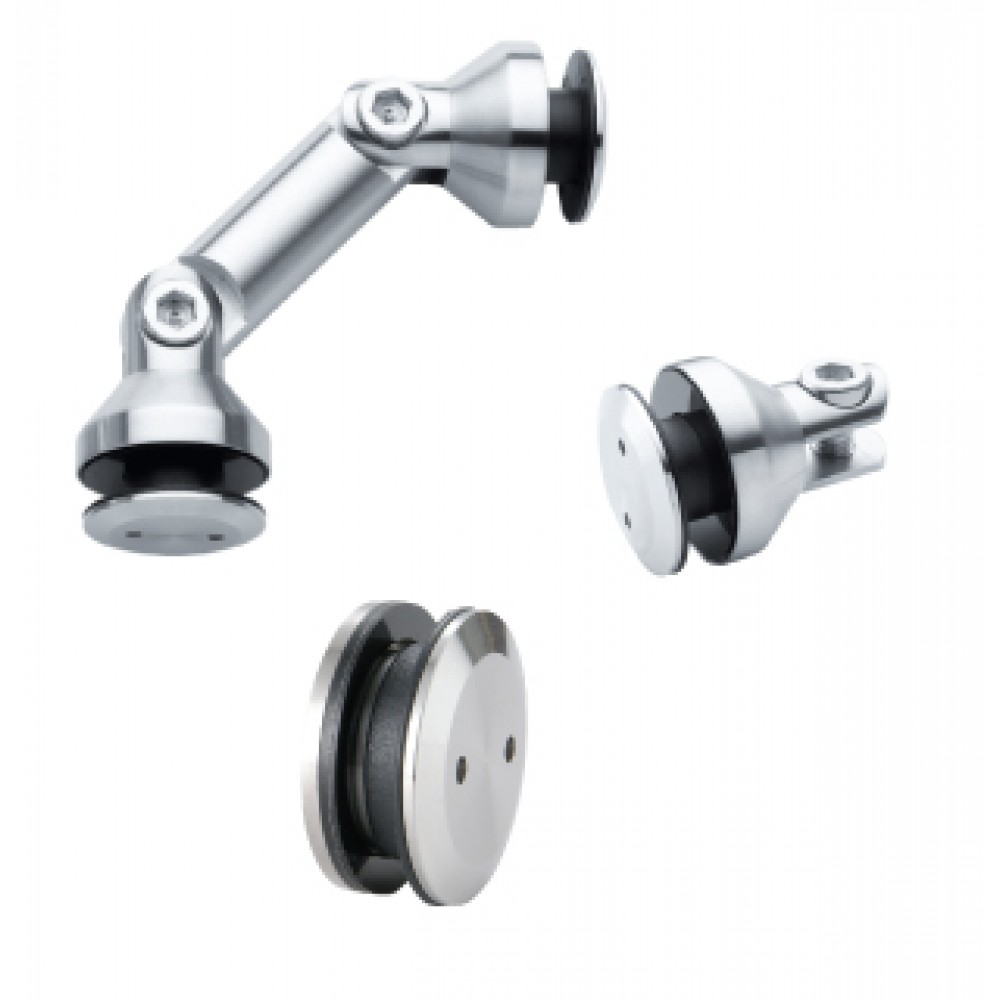
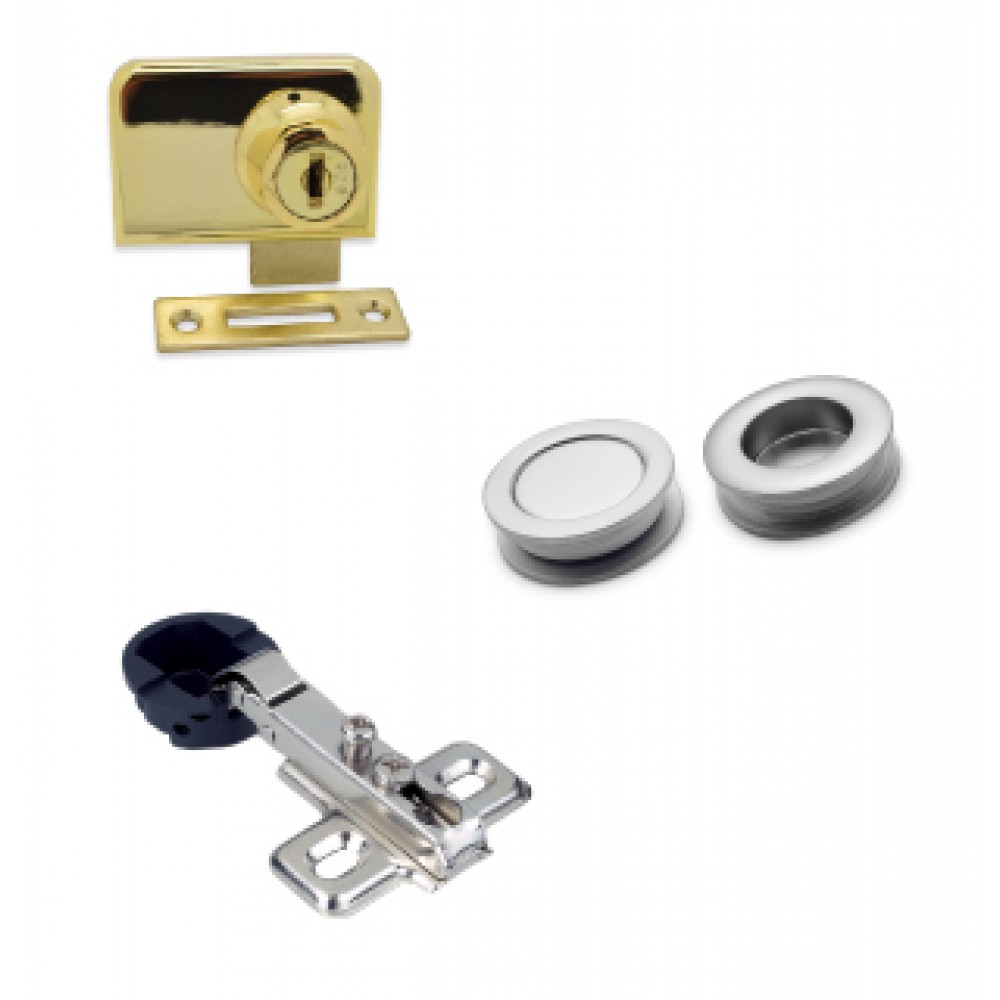
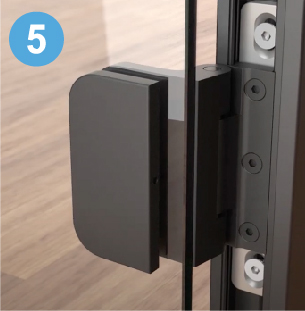
The Dynamik system simplifies this with integrated hinges that require no drilling or milling. These hinges slide into the frame and are fastened securely using only allen keys, while still allowing easy adjustment.
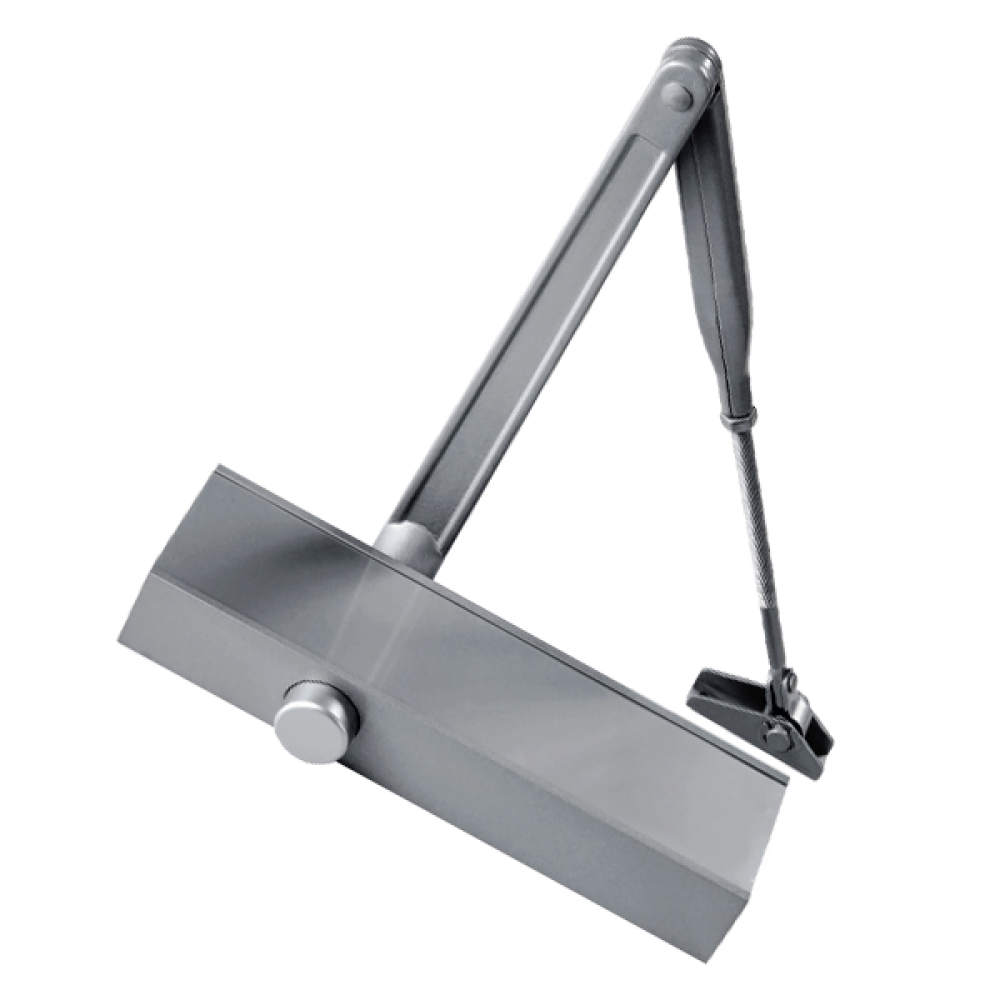
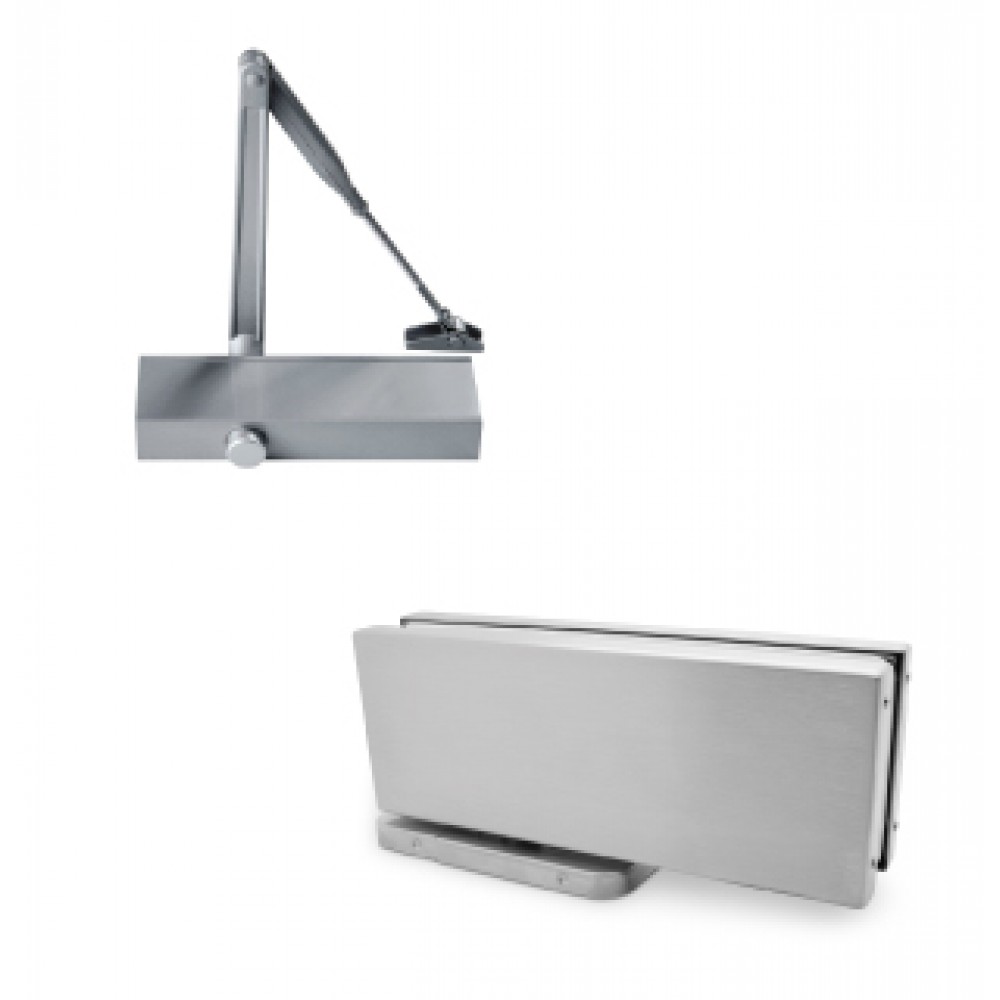
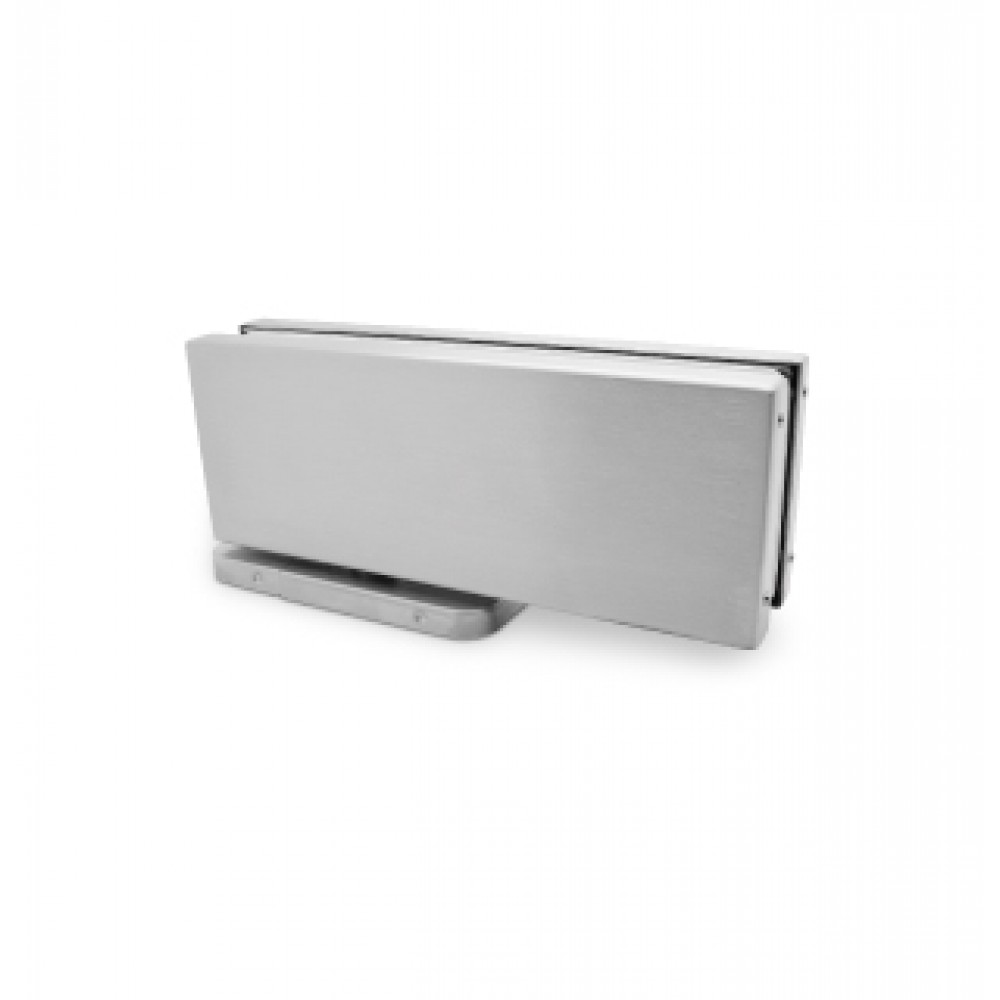
For doors requiring self-closing mechanisms, the heavy-duty hydraulic patch fittings feature concealed springs. This removes the need for traditional floor spring boxes—ideal for offices with underfloor heating or underground services.

The ease of the Dynamik system begins before you even reach the site.
GlassParts offers a free design service using state-of-the-art software. Simply send a sketch of your intended installation, and you’ll receive:
- A 3D visualisation
- A detailed quote
- An Installation Report with precise glass drawings
By combining a clever clip-on profile design with robust technical support, Dynamik turns potentially difficult projects into straightforward, successful installations.